In the world of modeling or creation in general, there is often a need to replicate objects or some types of forms. For example, a model maker may need to replicate wheels, shields, armor or other tools or components that can be used to enrich and / or complete his model.
It is possible to replicate what is necessary through the use of RUBBER+ liquid silicone rubber. The silicone rubbers are not all the same, but they differ in their main characteristic called Shore A. The Shore is an indicator of hardness of the silicone rubber, there are different sizes for example 10-20-30-40, the lower the number of indicator and more will be the softness of the rubber.
Shore A low-index tires are useful for users who, once they have obtained the mold, must use it to pour resin or gypsum into them. The greater softness required for these types of casting makes the mold more fragile to twist and will not allow it to be used indefinitely. On the contrary, a rubber with a higher indicator appears to be harder and allows multiple copies of the object to be made, but it is not suitable for objects that have many details or undercuts since it is unable to replicate them.
Usually this type of product is non-sticking from all surfaces that are not silanized or contain silane (such as glass or crystal glass) and do not require a particular cleaning of the equipment as it is sufficient to remove the rubber once it has catalyzed and it has perfectly dried. However, for the shapes of very complex and worked matrices it is advisable, in order to facilitate mold release, to previously treat the matrix with one or more layers of release agent (it is important to remember that not all the release agents are equal and that there are different types with different characteristics), which you can find here Demolder 400S.
Let's now look at the various steps for creating a silicone rubber mold.
HOW TO PROCEED?
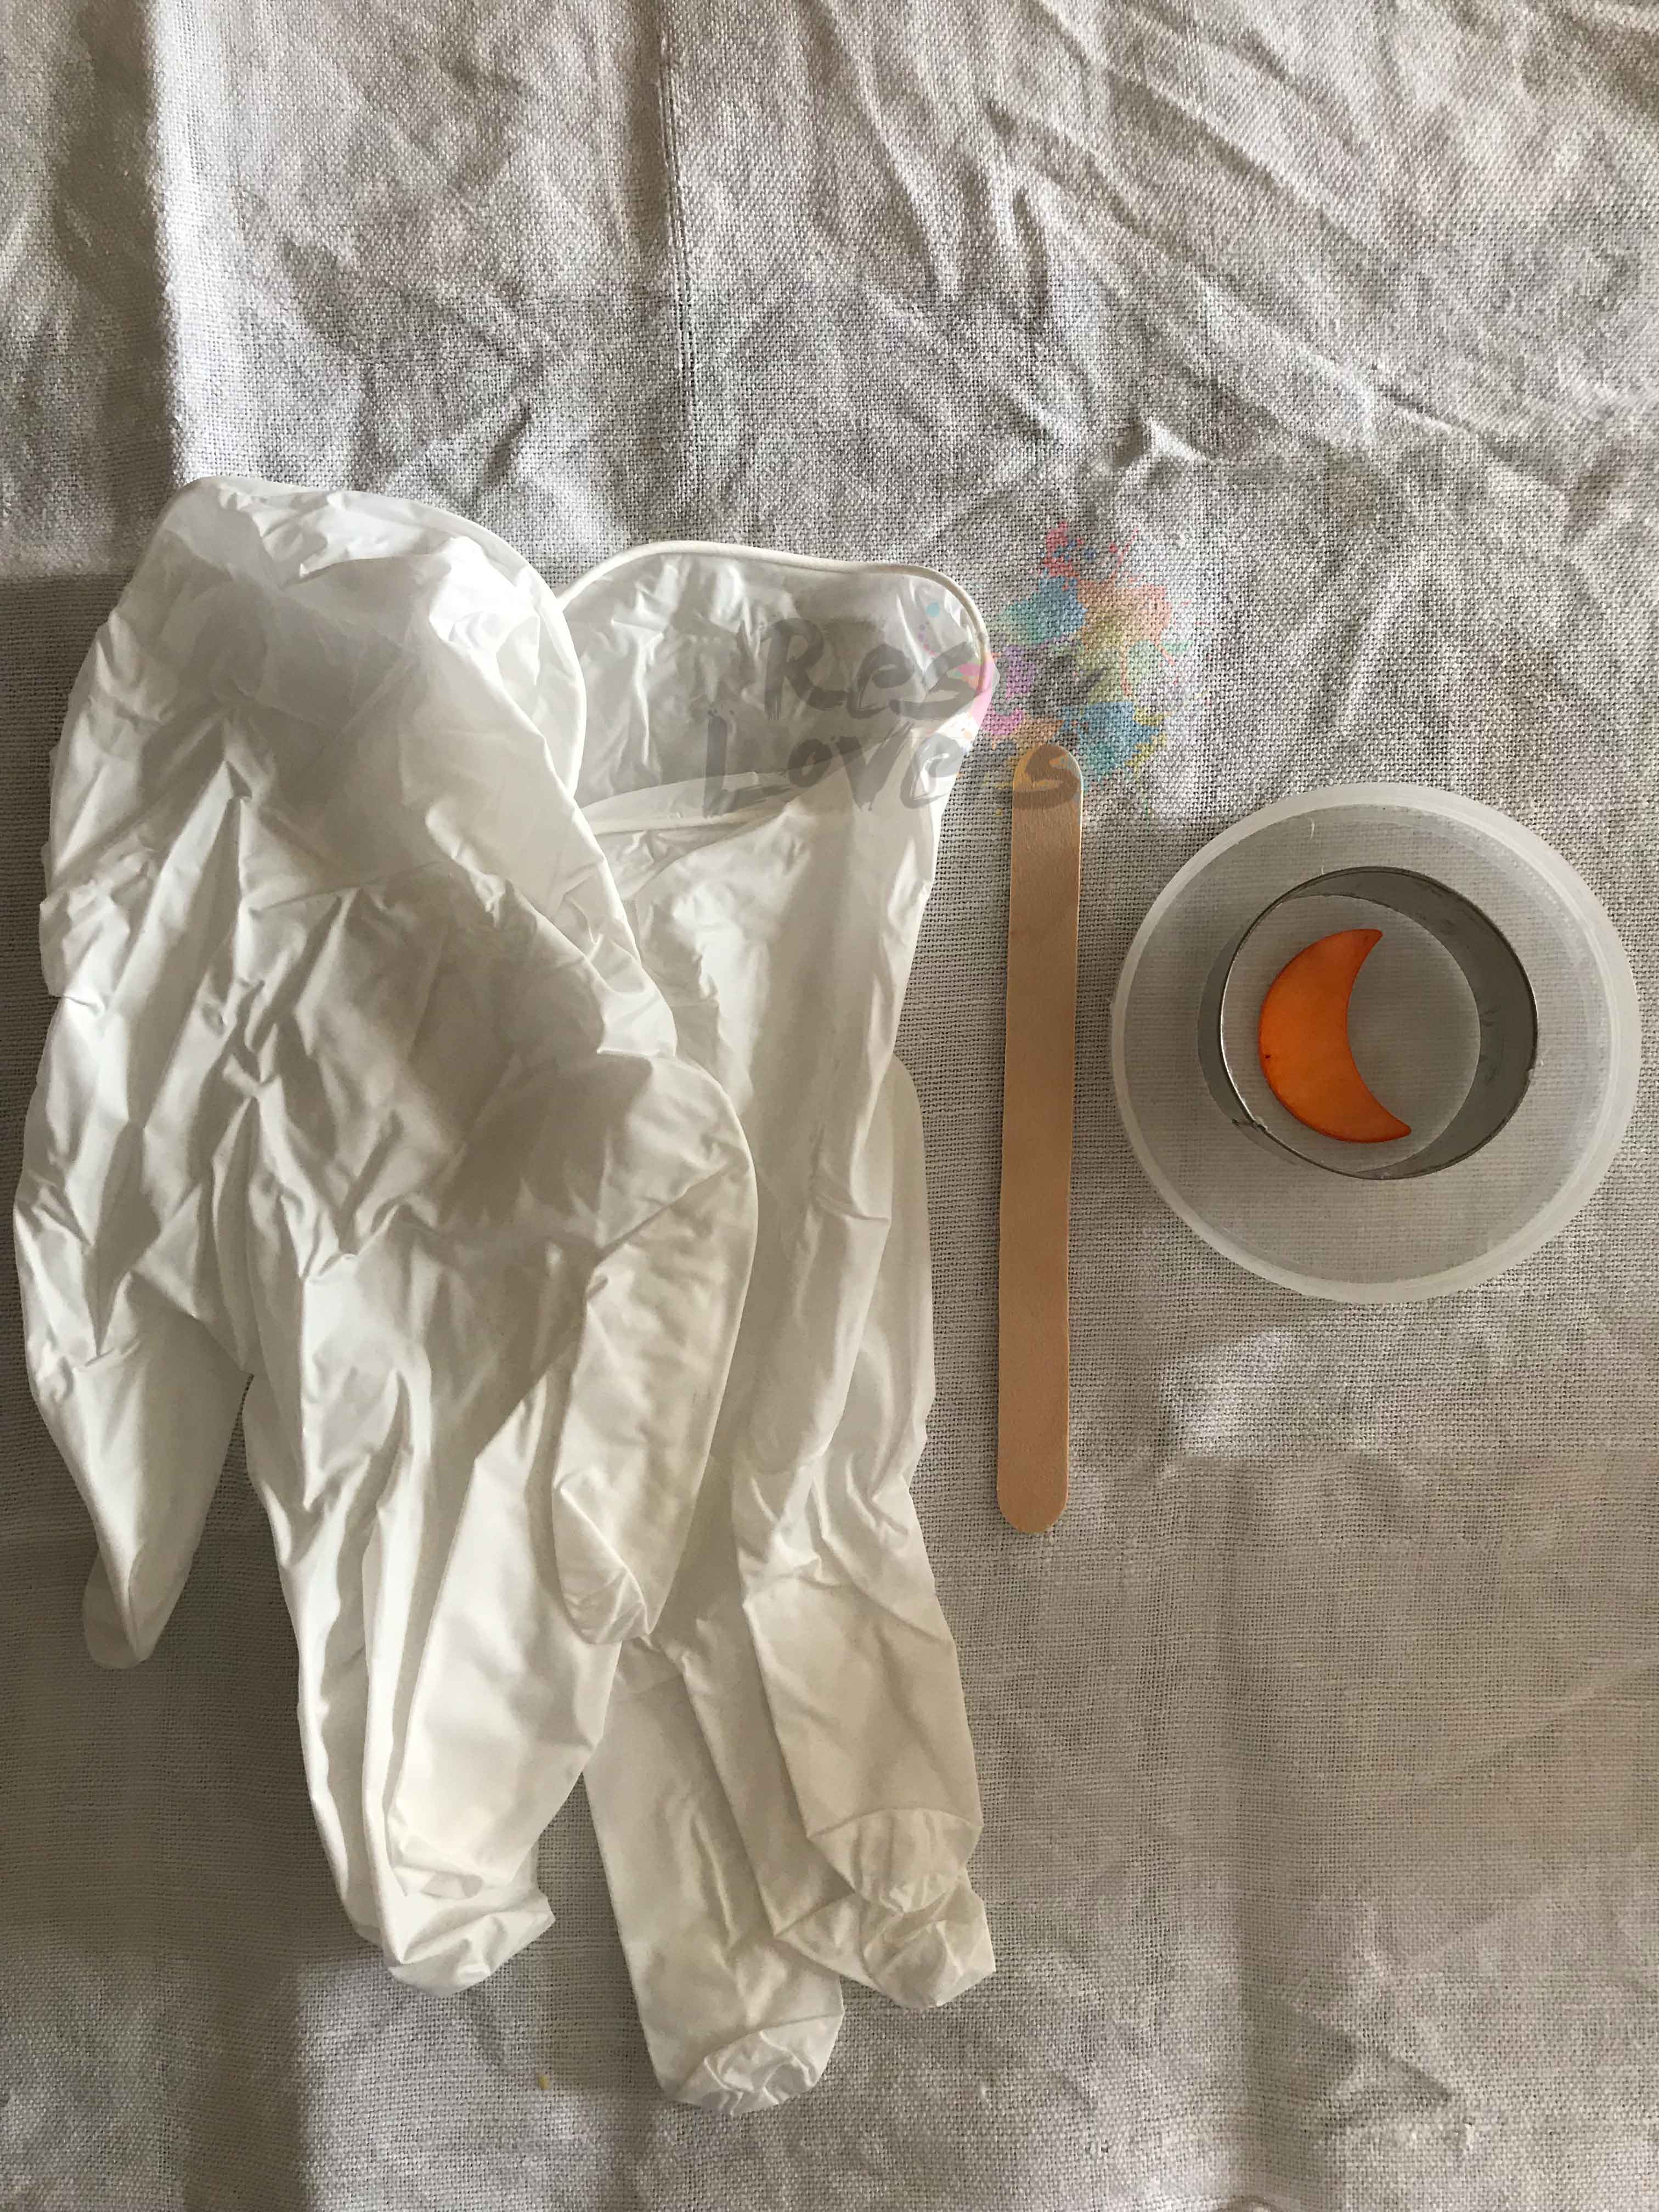
1) Get the necessary equipment (protective gloves, scales, mixing paddle, container, matrix, etc.).
Choose a container where the mold will be created and where to insert the object. The container must be of a suitable size to contain the object to be replicated and which must be entirely covered with silicone rubber. So do not choose a container too small compared to the object, but not too huge!
2) It is necessary to clean up the object of which you intend to replicate the mold. Unclean equipment or objects can cause the attachment of the rubber and a greater difficulty in the extraction of the object from the mold.
N.B: in order to have a perfectly polished mold it is also necessary that the object to be replicated is shiny otherwise the mold becomes opaque and everything that will be replicated will be opaque.
3) Prepare the container and the matrix. If the objects are not too thoughtful, they could move or float in the liquid rubber, then use tape *, a pencil or any other effective method to make the object rest firmly to the bottom.
* Attention some adhesive tapes contain particularly aggressive glues, substances or additives that can affect the catalysis of silicone rubber. In some cases it may happen that the silicone rubber part in contact with the tape does not dry perfectly well, remaining sticky to the touch. However, with some time, the castings should tend to dry itself.
4) Prepared the mold is now going to make our silicone rubber. You will have to mix the rubber with its catalyst, for this procedure it is extremely recommended to use a precision scale (even a very small percentage of error in the ratio indicated in the package may not catalyze the rubber well and leave it liquid, semi-hard or in part sticky), so avoid low quality balances that are cheap, but have extremely high margins of error in weighing.
5) First of all, place a container large enough to hold the desired amount of rubber on top of the scale and carry out the tare.
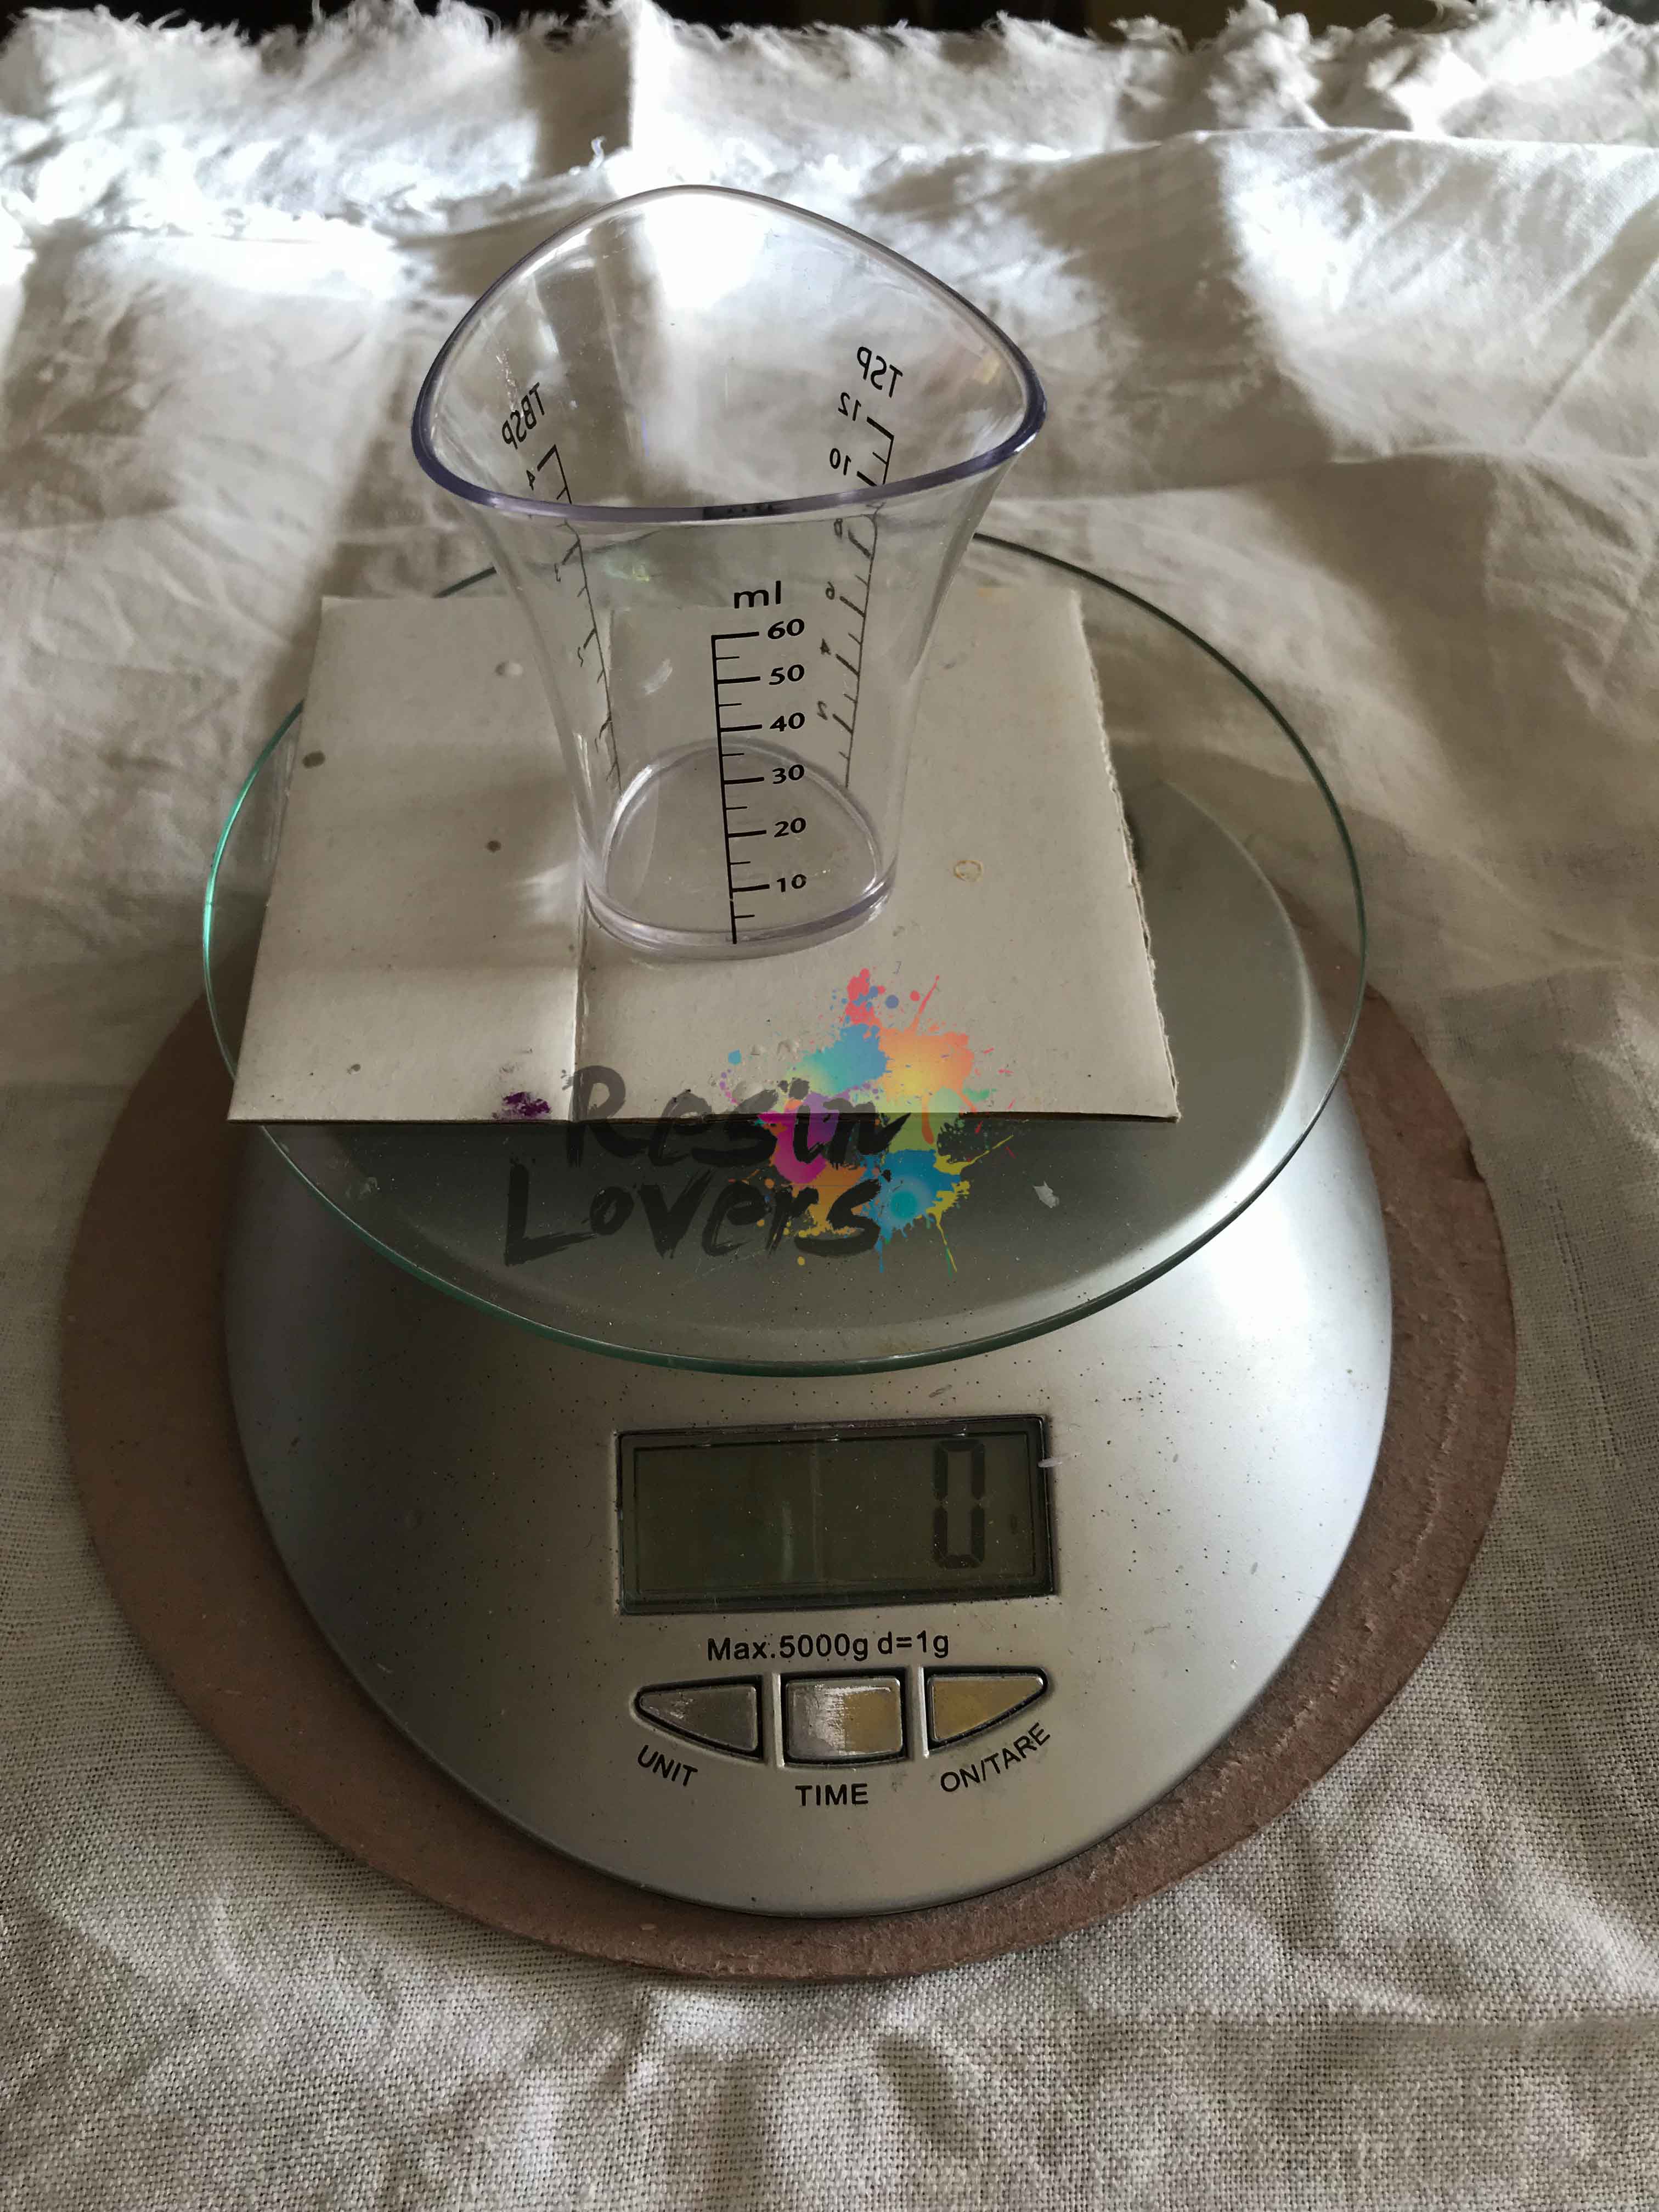
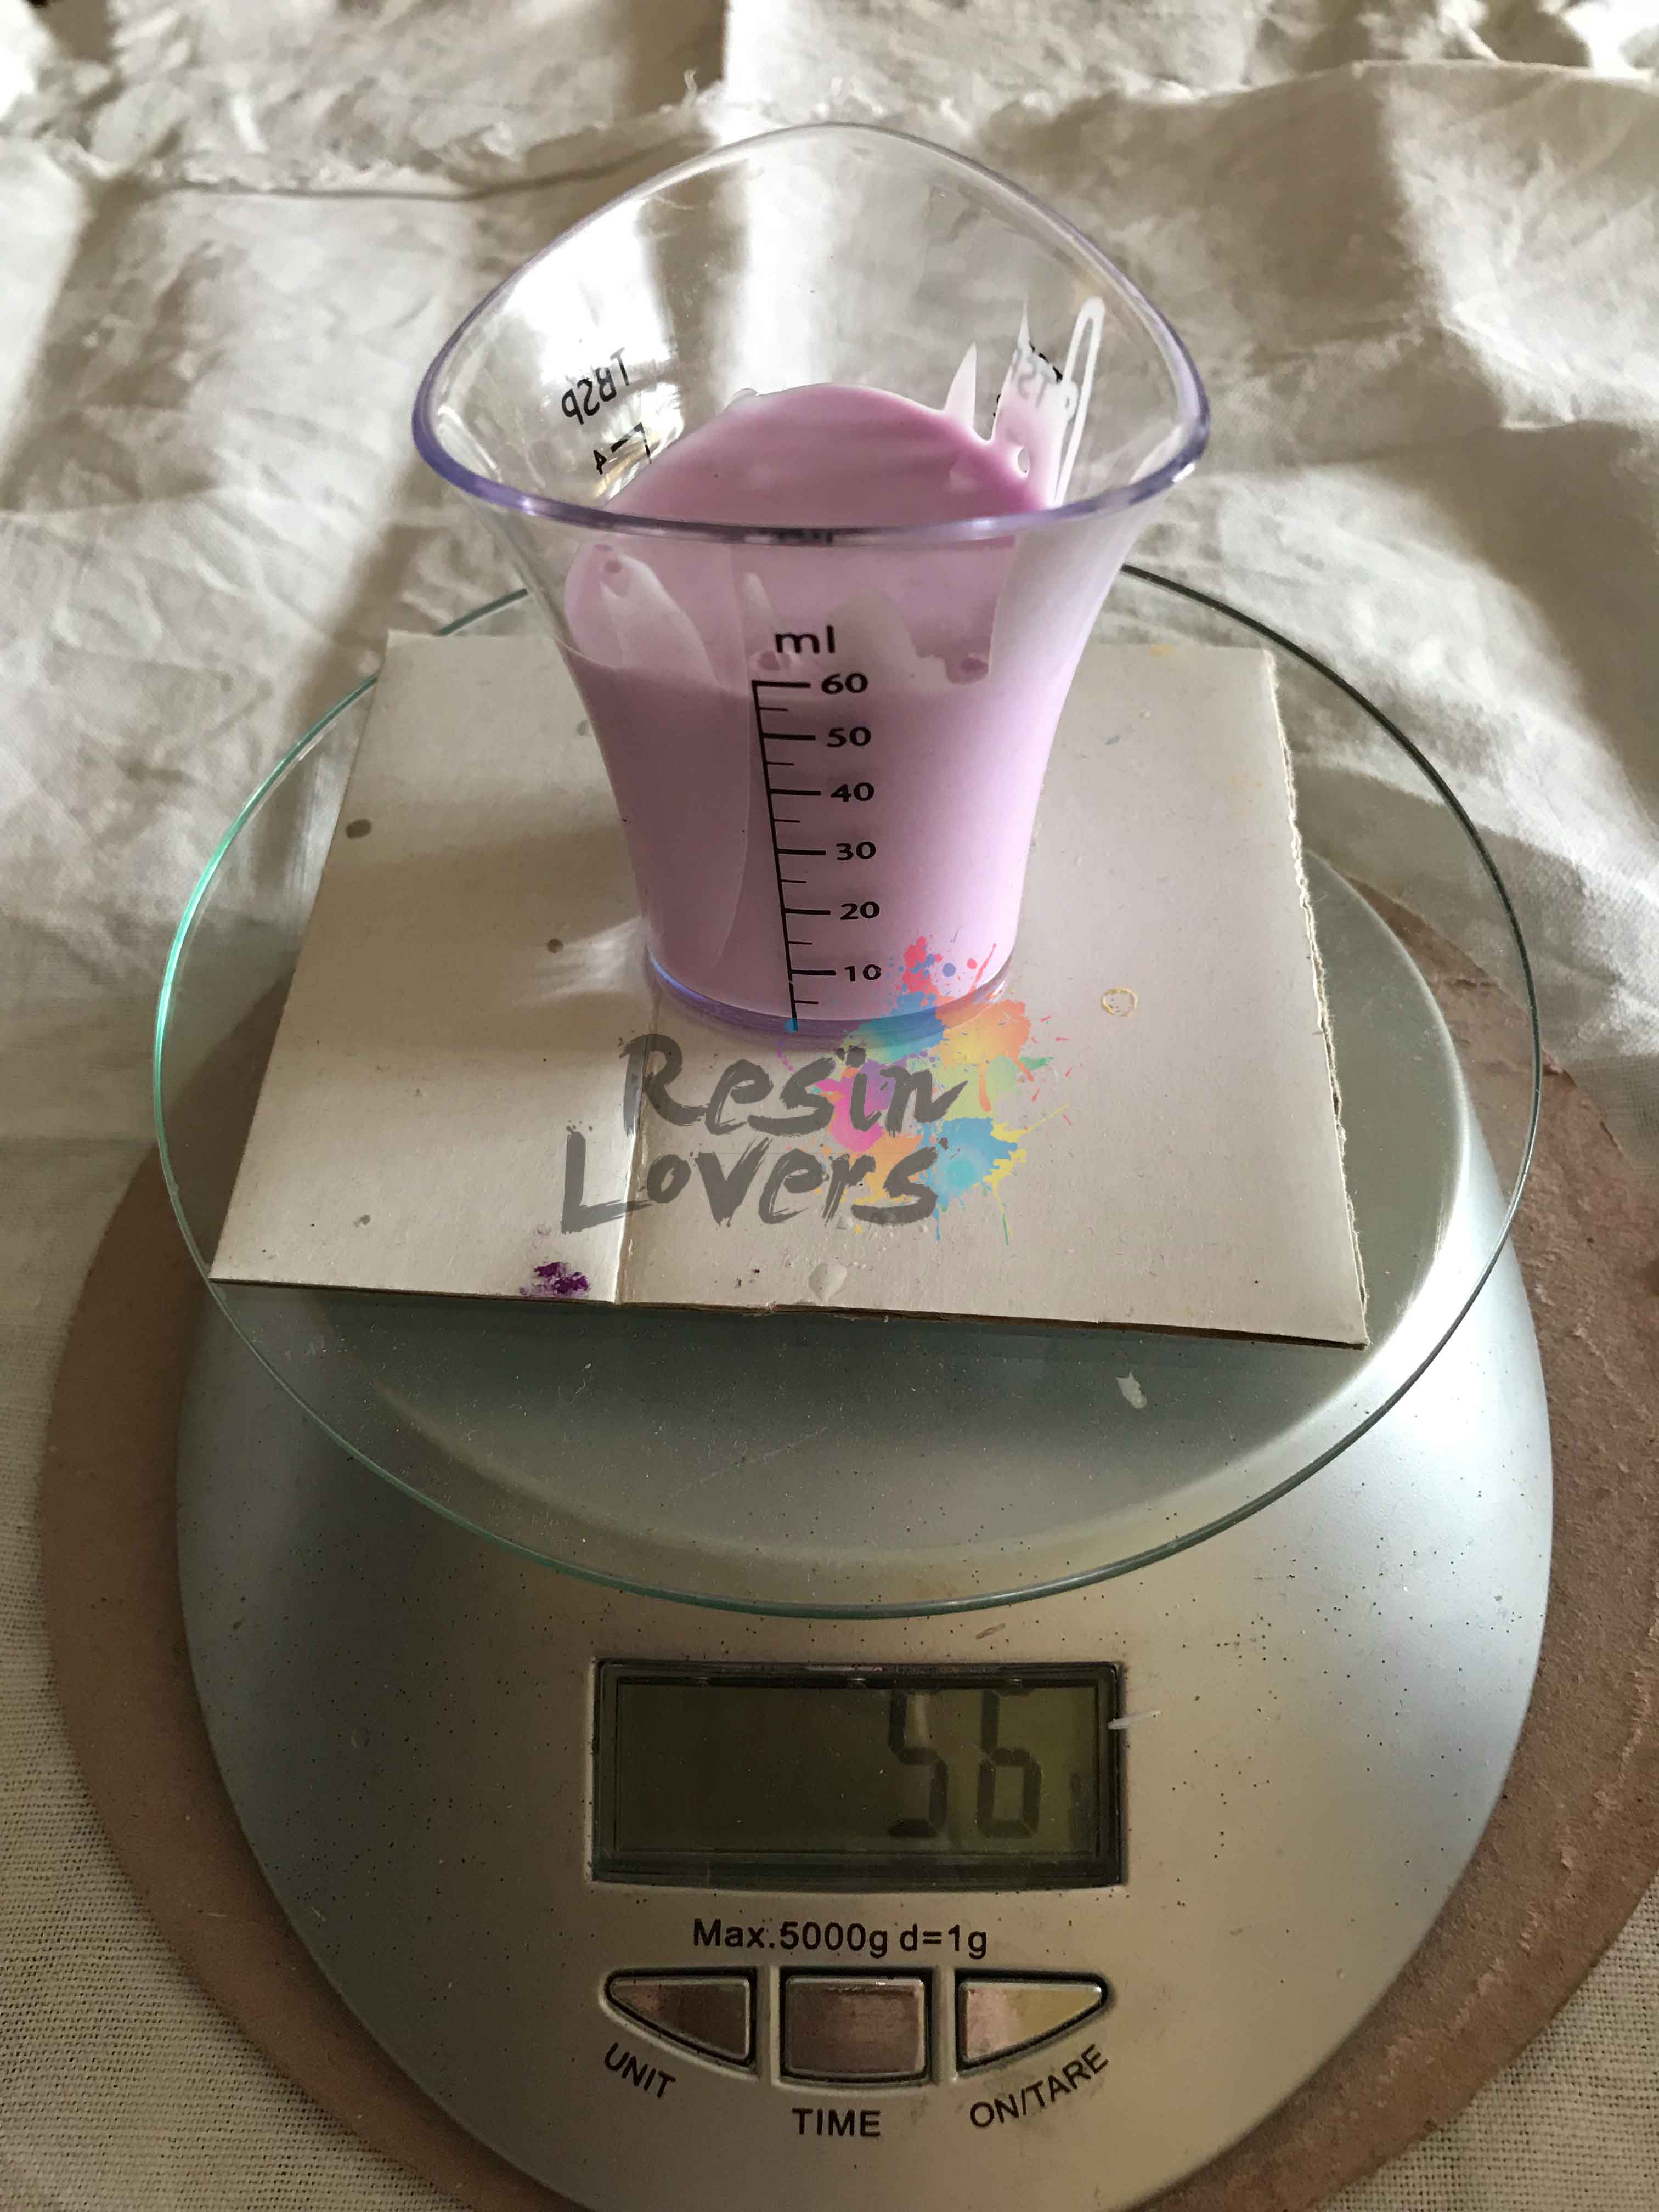
Weigh the rubber first and then (separately in another container or by doing the tare again) weigh the respective catalyst respecting the catalysis ratio indicated in the label placed on the package.
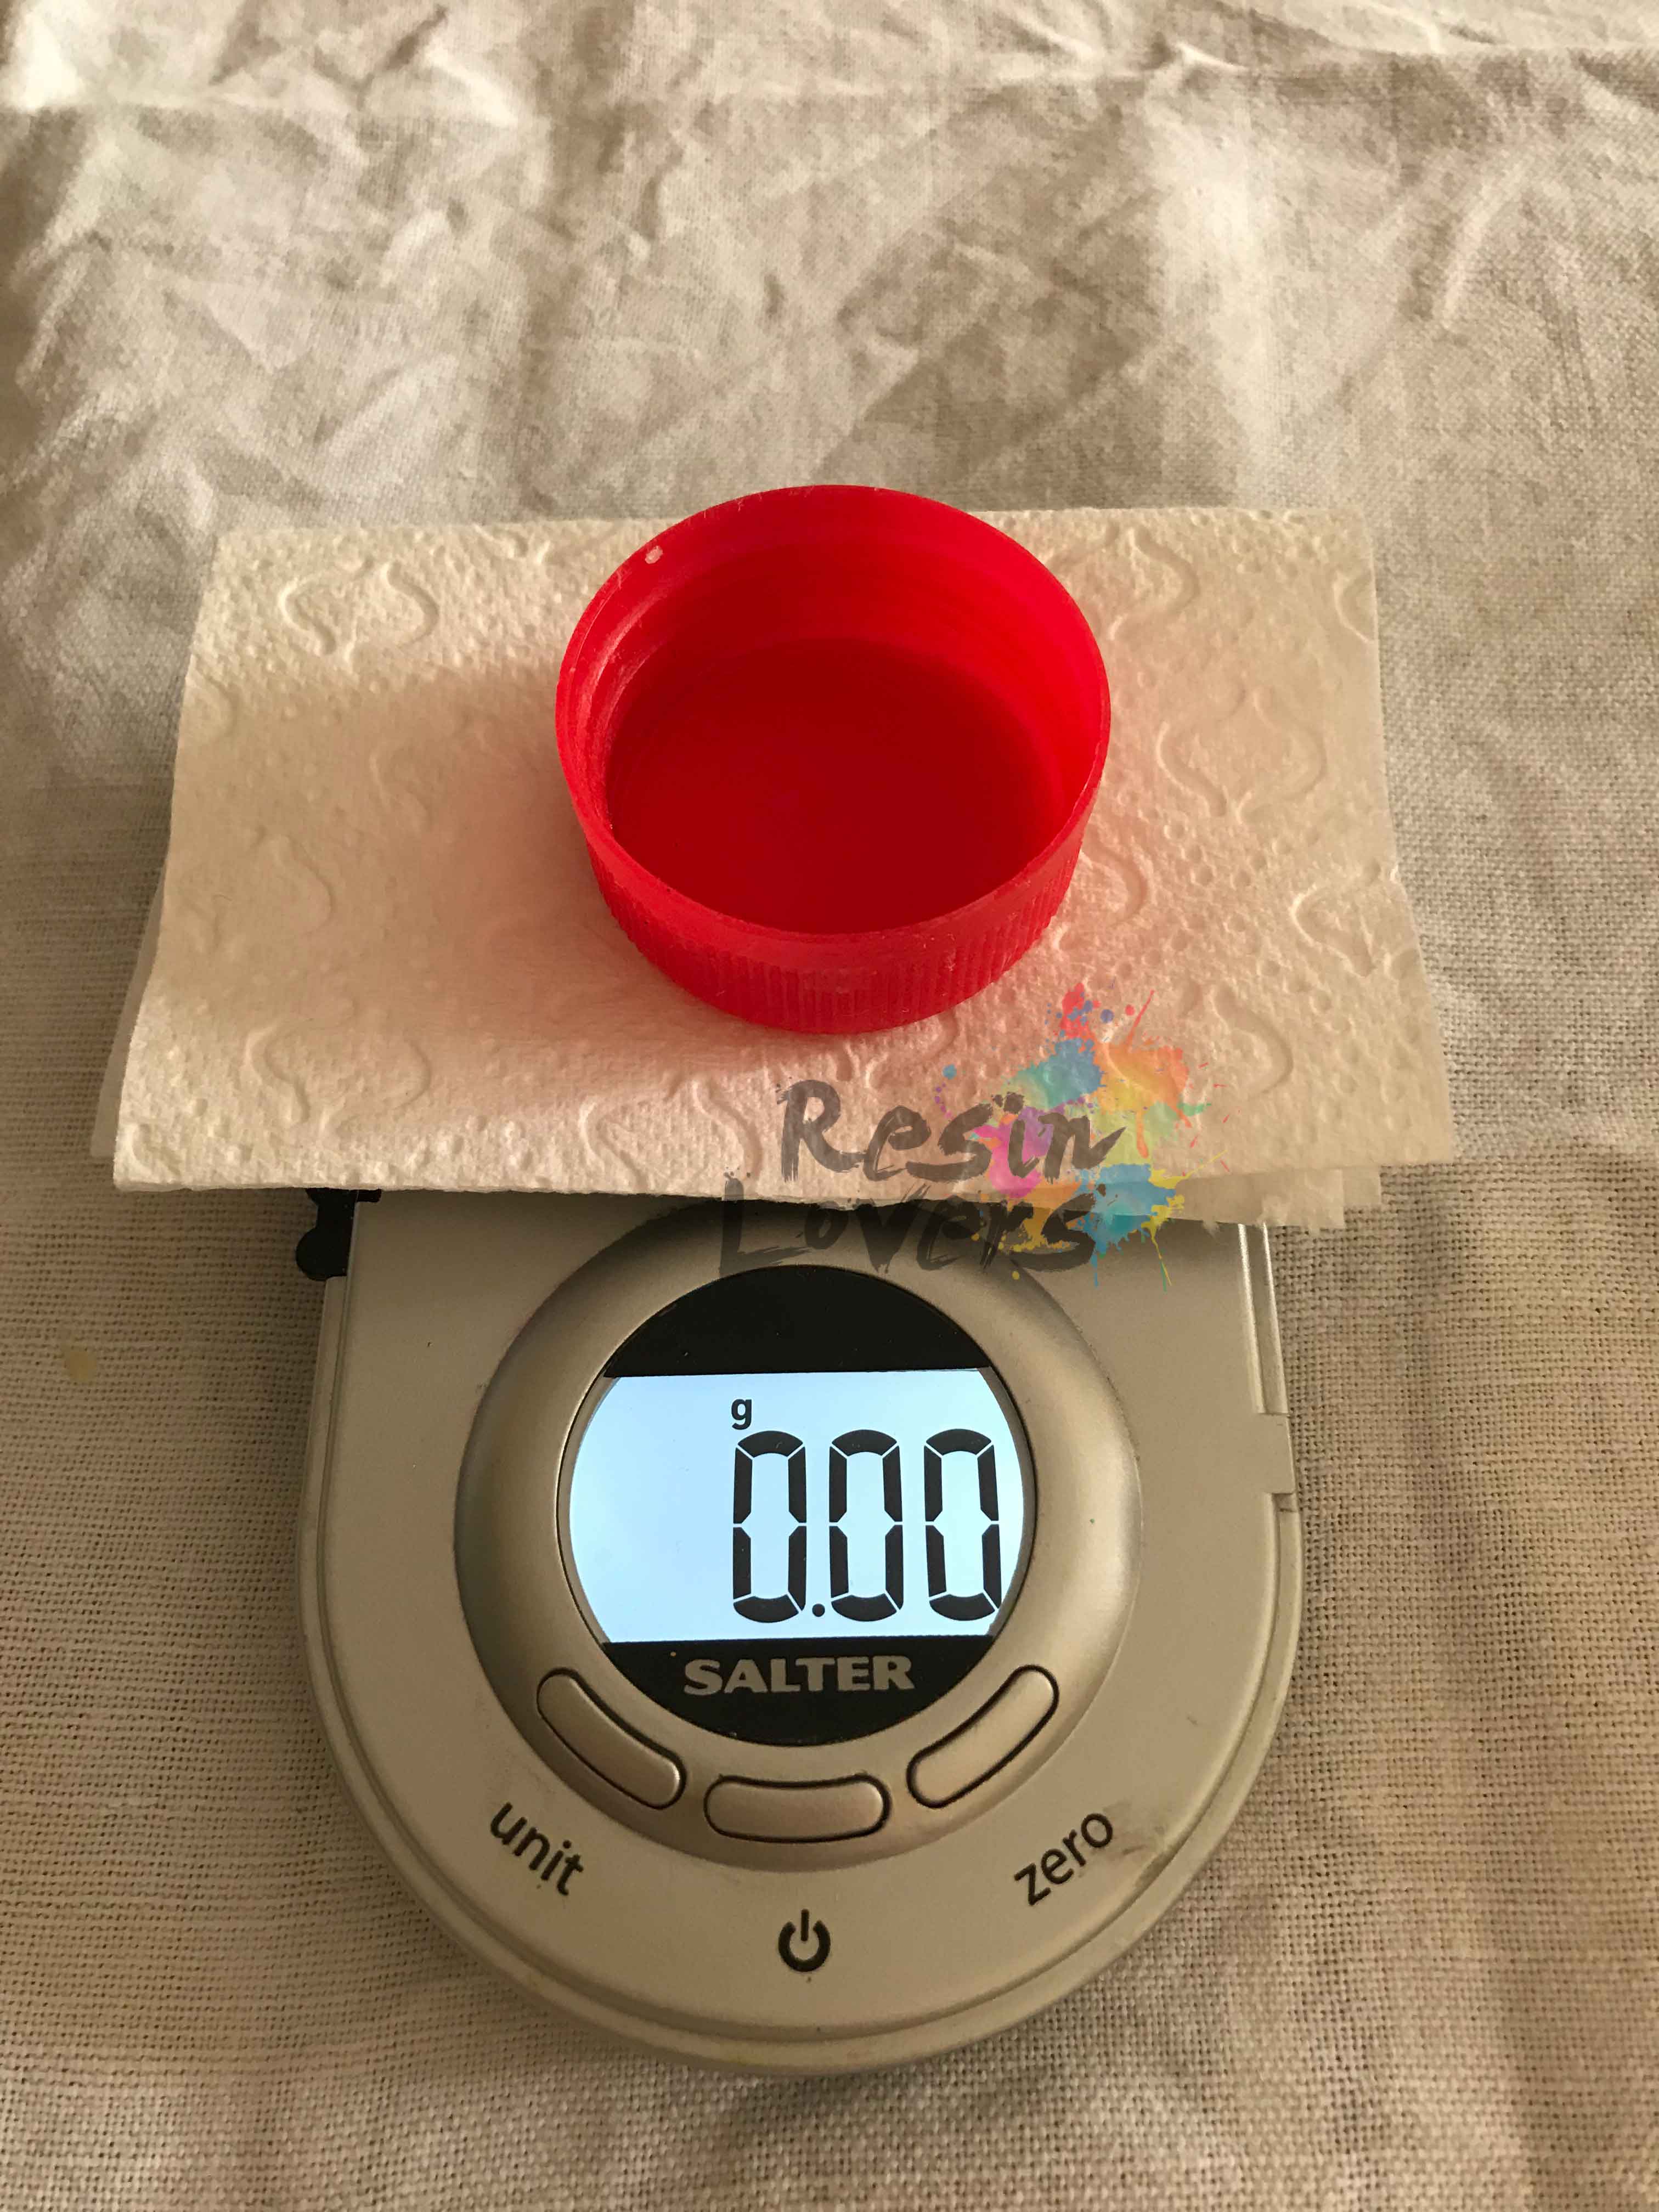
8) With the aid of an extremely accurate 0.5 gram scale, in a second container, weigh the respective catalyst (Part B).
7) Join the two components together and through the use of a pallet mix everything very carefully so that the catalyst amalgamates uniformly to each part of the rubber. A well-mixed rubber may only partially pull and leave an amount that may never be catalyzed.
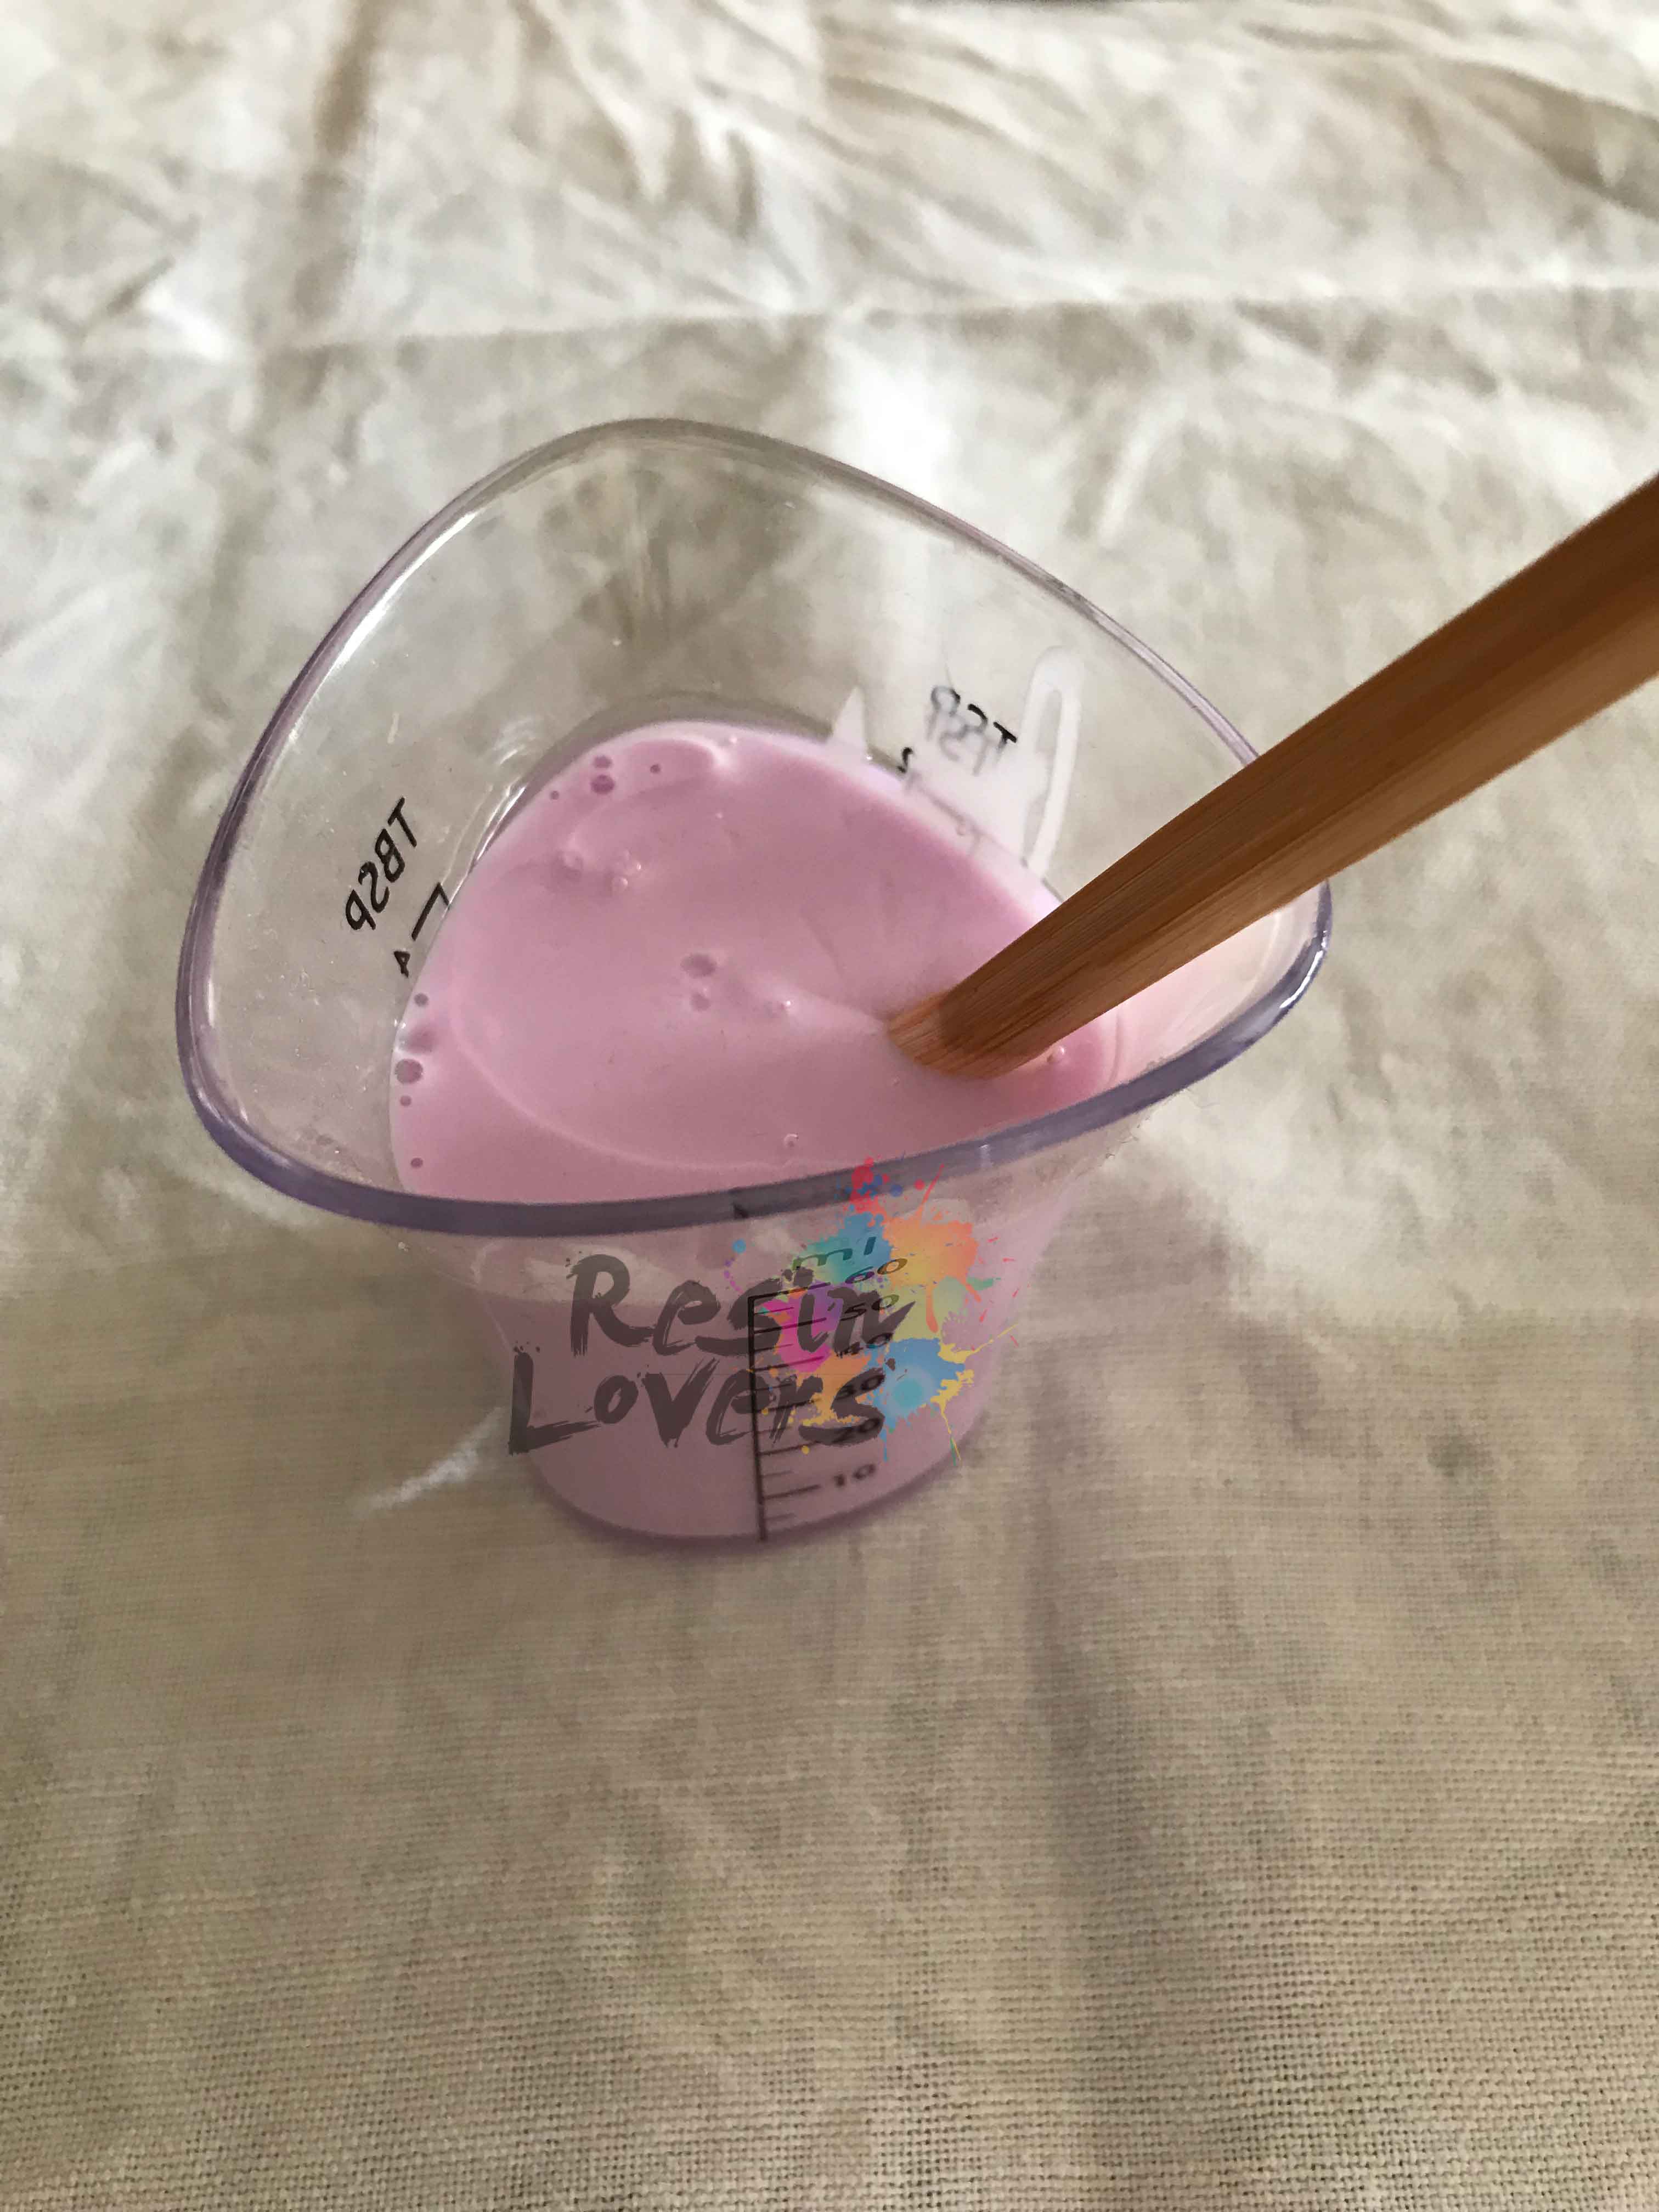
8) When it is well mixed, allow the rubber to stand for a few minutes in order to facilitate the release of some air bubbles that have formed during the mixing process.
9) Cast the rubber in the container containing the matrix continuously, remembering that the tires such as resins and other materials have their POTLIFE, ie the maximum processing time after which the catalysis will start and then start to harden. It is advisable through the use of instruments, of adequate size, to sprinkle the rubber on each side and corner of the object to help the rubber to reach every smallest inlet and / or detail present in the object.
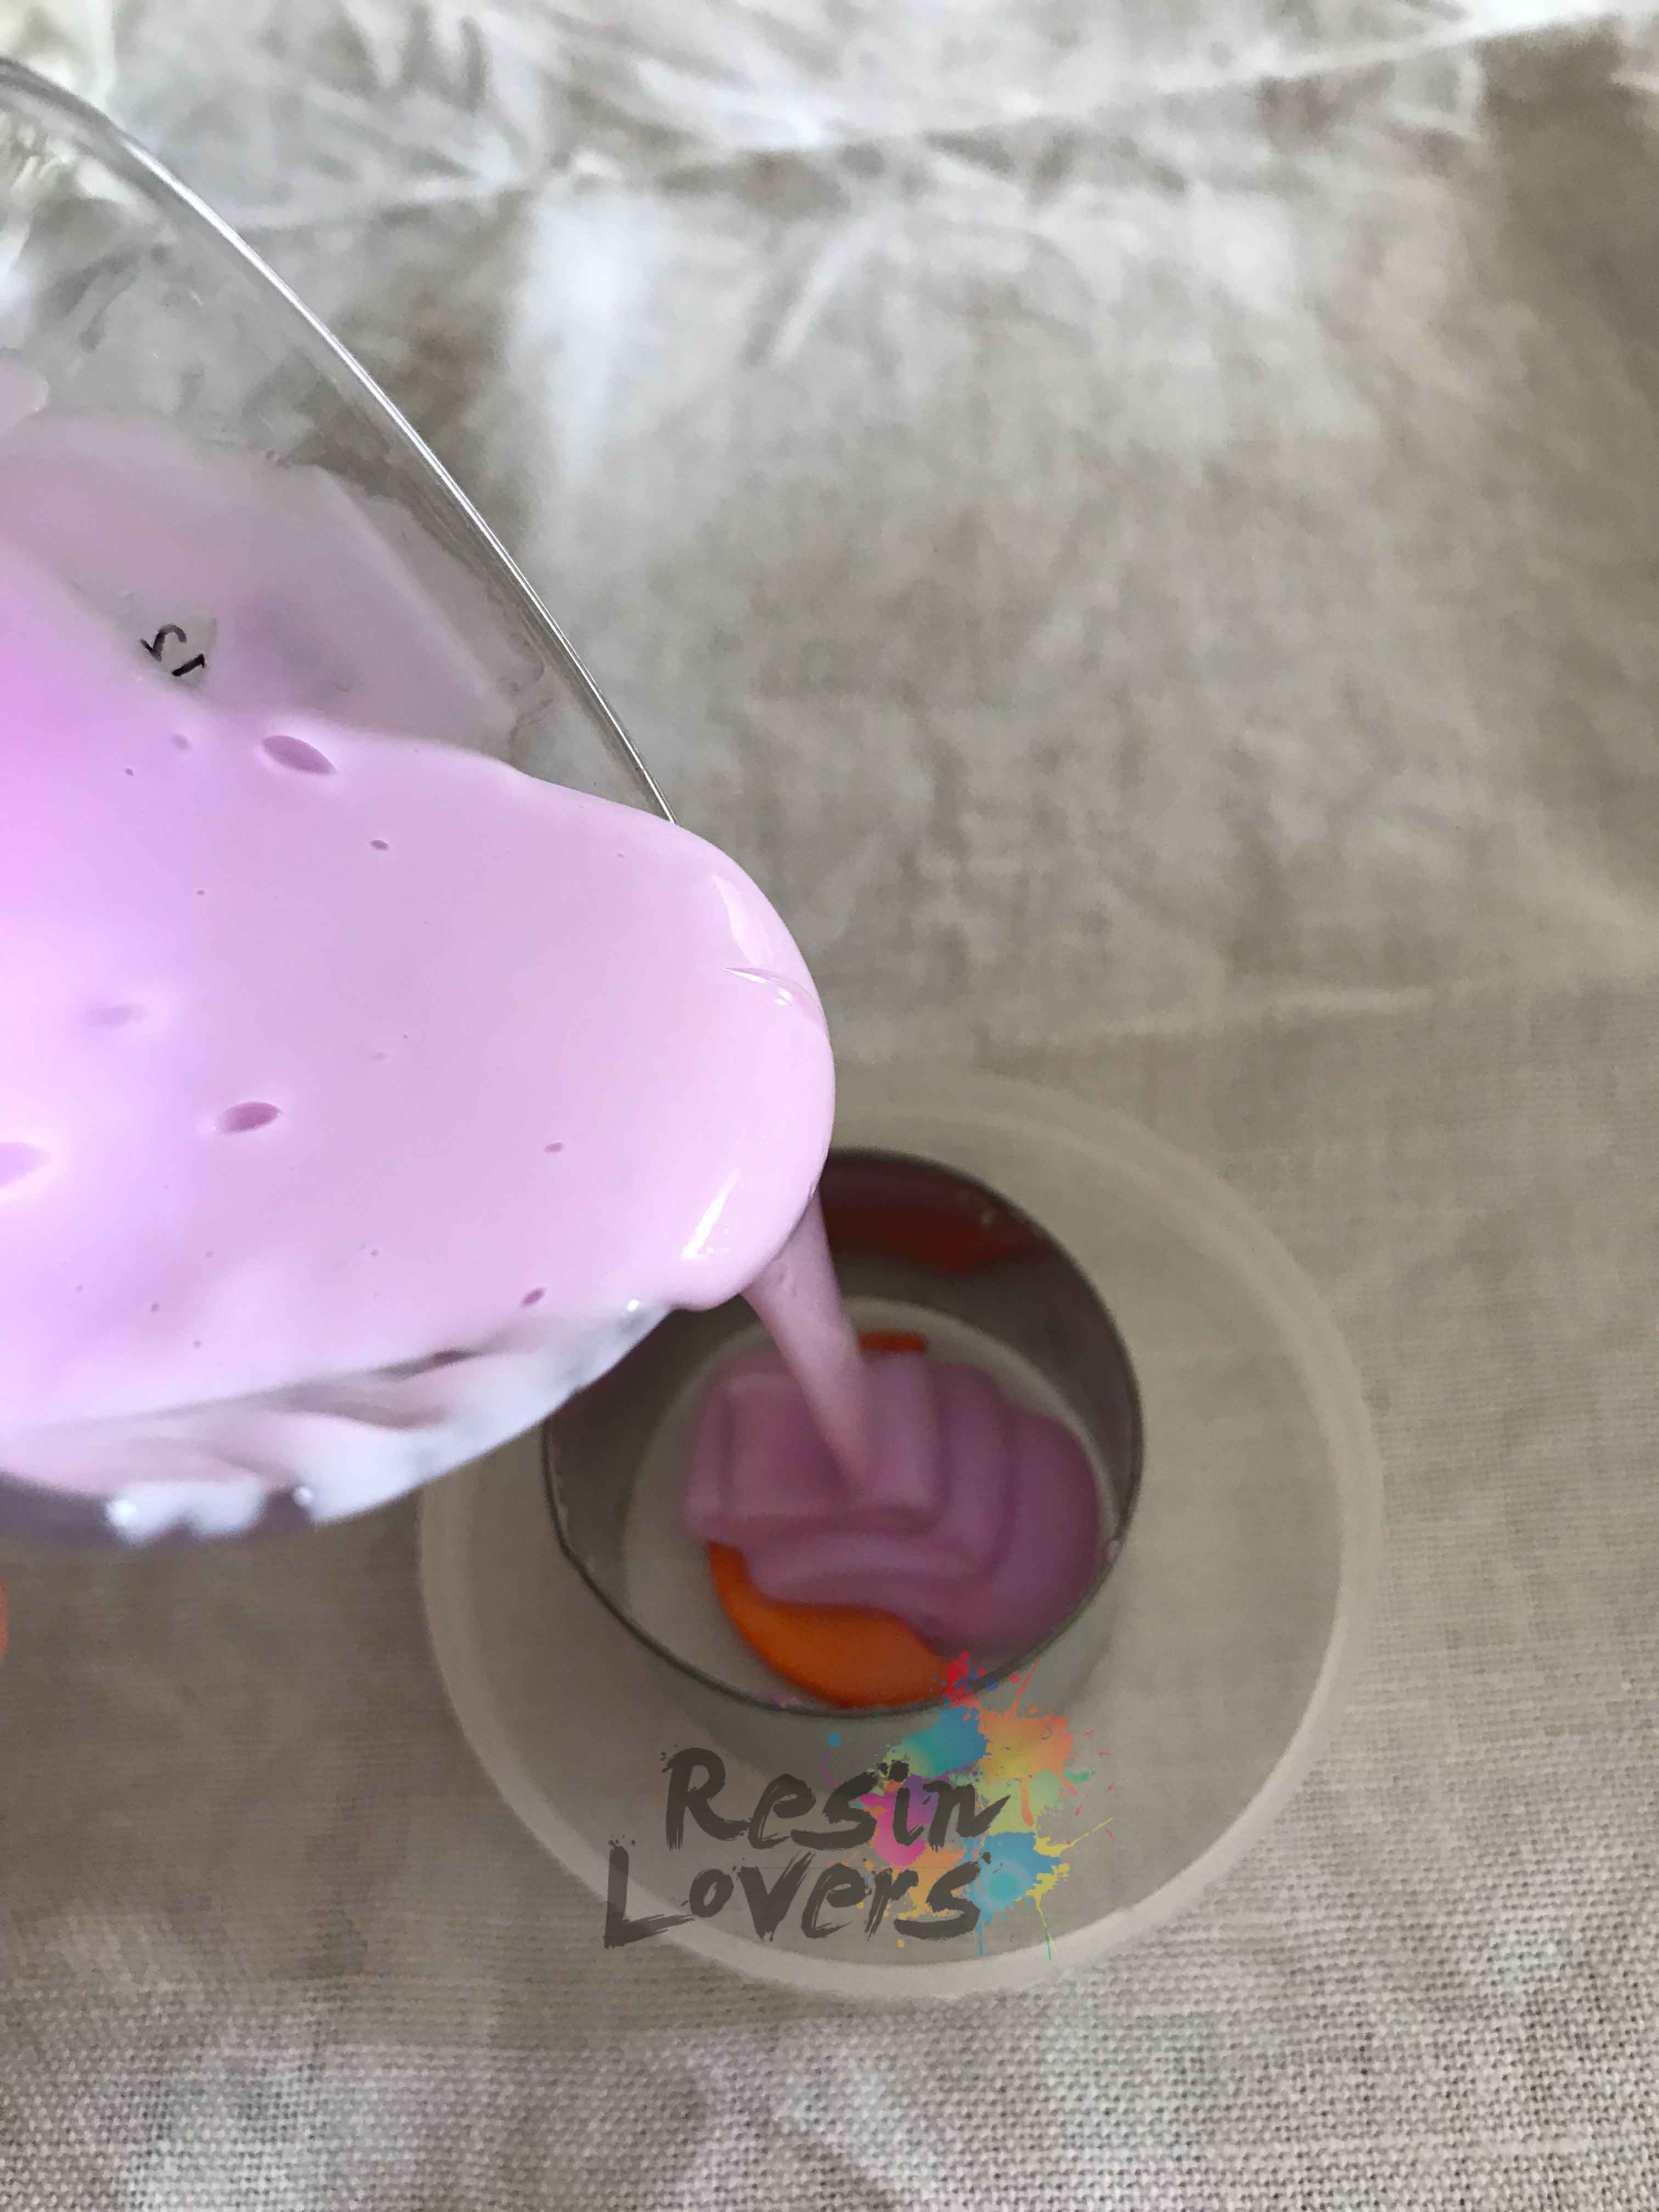
If inside the mold you should form bubbles on the surface of the rubber, do not worry, it will suffice to gently blow over them to burst them. There are other alternative ways a bit 'more aggressive like blowing with a hair dryer or the flame of a lighter; the latter method is less recommended because in addition to risk of burning the silicone rubber, it can cause the occurrence of an invisible film that prevents the subsequent escape of air, trapping the bubbles inside the mold and often very close to the matrix.
10) Once finished, wait patiently until the rubber mold has completely hardened and then go to unmold the rubber from the container and remove the object from the silicone rubber.
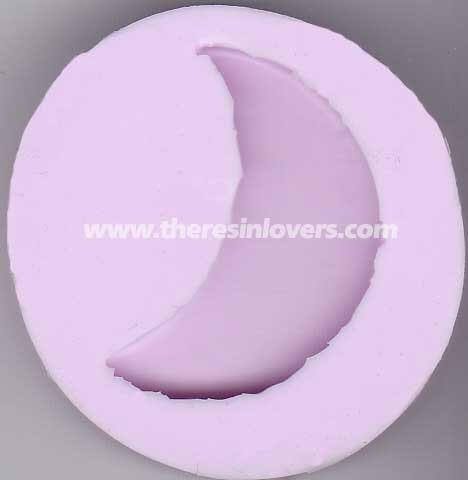
NOW THAT THE MOLD IS READY DOES NOT HAVE ANOTHER WHAT TO DIVINE WITH YOU IN A RESIN, PLASTER OR OTHER MATERIAL FOR YOUR FANTASTIC CREATIONS :) !!
